Exam Section
Set up exams, enter and approve marks, publish results and arrange exam rooms.
The Exam Section covers the whole life of an exam: creating it, choosing which classes sit it, setting full and pass marks, giving students symbol numbers, entering marks, approving and publishing results, and arranging exam rooms. Students and parents only see a result once it is approved and then published.
The Exam Entry dashboard
Open Exam Section → Exam Entry in the sidebar. Every module is a card, grouped by purpose.
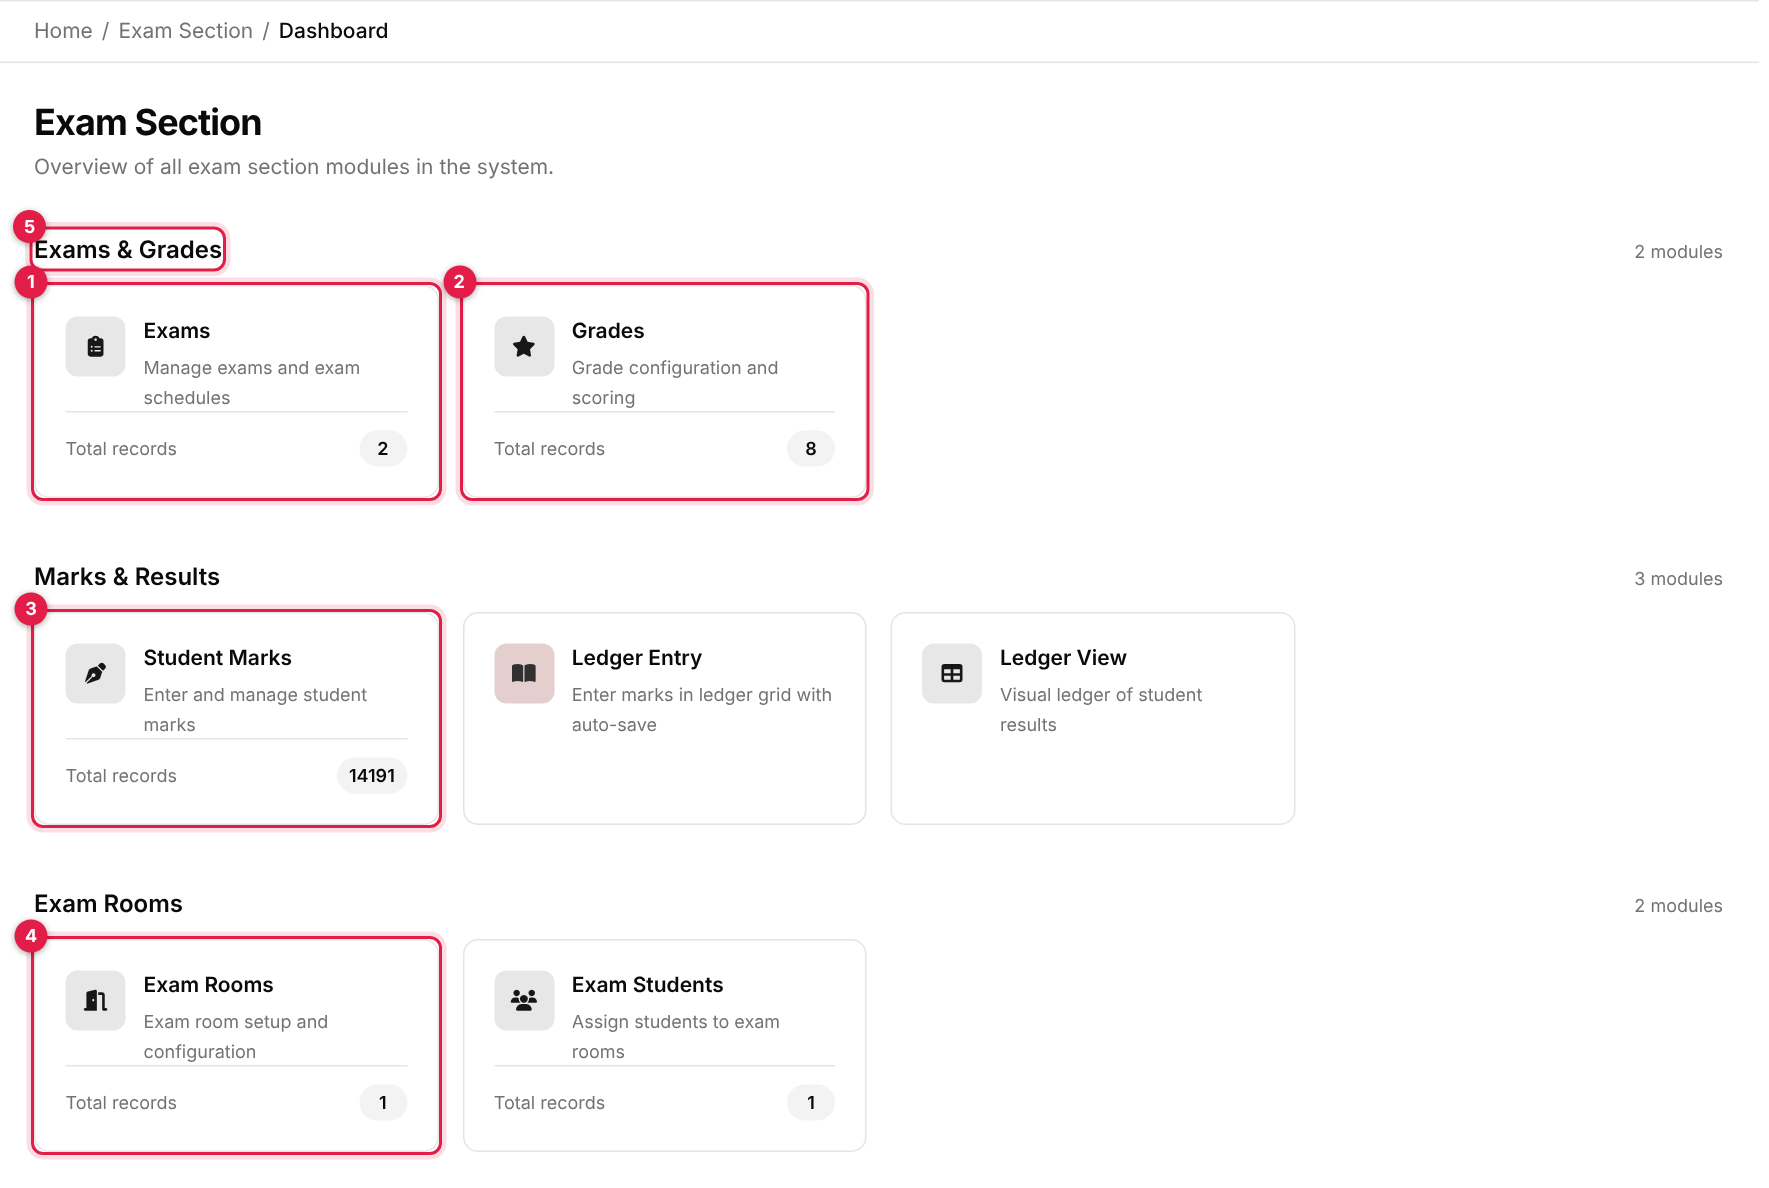
- 1Exams: create exams and manage their classes.
- 2Grades: the grade scale.
- 3Student Marks: enter, approve and publish marks.
- 4Exam Rooms: rooms and bench capacity.
- 5Group heading: Exams & Grades, Marks & Results and Exam Rooms.
Cards depend on your role
You only see the cards your role may open. Ledger Entry and Ledger View sit in the sidebar and under Marks & Results and can be hidden unless they have been pinned for you.
The result life cycle
Work through these steps once per exam. Each links to its guide.
- 1. Prepare. Make sure classes, shifts (including an Exam-type shift), subjects and students exist (see Main Entry), then create the Grades scale.
- 2. Create the exam in Exams, with a marks deadline.
- 3. Add classes to it in Exam Classes, with result dates.
- 4. Set marks for each class: full and pass marks and exam dates in Subject Marks Setup.
- 5. Symbol numbers and admit cards in Symbol Numbers & Admit Cards.
- 6. Enter marks in Student Marks (one student at a time) or Ledger Entry (a whole class).
- 7. Approve, then publish in Student Marks, and print report cards.
- 8. Rooms (optional). Exam Rooms and Exam Students plan who sits where.
Three things that lock marks
- The exam's Marks Deadline: after it passes, marks cannot be saved (the fields turn read-only).
- Approved: only a super-admin can still change the marks.
- Published: nobody can change the marks until the result is unpublished.
Guides
Exams & Grades
ExamsCreate exams, view details and the exam routine
Exam ClassesAssign classes to an exam and manage each one
Symbol Numbers & Admit CardsGive students symbol numbers and print admit cards
Subject Marks SetupFull and pass marks, exam dates and formative marks per class
GradesGrade scale used for grades and GPA
Marks & Results
Student MarksEnter marks, approve, publish and print report cards
Ledger EntryEnter marks for a whole class in one grid
Ledger ViewRead-only results table with division and rank